Ingredients
- Coconut Cream 900g
- Coconut Milk 900g
- Tapioca Flour 480g
- Arrowroot Flour 150g
- Rice Flour 30g
- Sugar 920g
- Salt 1tsp
- Pandan Juice 100g (or you can use pandan essence)
I made the Pandan Juice by blending 100g water with chopped pandan leaves and straining.
Instructions
- Mix the flours and salt together in a bowl. Knead the flour mix while slowly adding coconut cream bit by bit for roughly 15 minutes or until a smooth doughy texture. Do not use up all the coconut cream for this as you will add the rest once you have achieved the texture.
- Combine the coconut milk and sugar in a saucepan. Cook on medium heat just until the sugar is dissolved, avoiding bringing the liquid to the boil. Set aside until warm.
- Strain the coconut milk, sugar syrup then pour into the flour mix bit by bit while stirring with a whisk.
- Once ingredients is mixed pour into separate bowls in equal measure to ready for colouring.
- Stir in the colours of your choice.
- Ready the steamer by adding water and putting on high heat till boil (recommended: a tiered metal Chinese steamer)
- Wipe your moulds (tray, cake pan or silicon moulds) with cooking oil to easily remove dessert later. Then leave inside the steamer for 5 minutes until hot.
- Pour first colour into the tray not over 5mm thick (tip the steamer to allow the colour to cover the width of the tray) Steam for 5 minutes.
Tip: Between each colour wipe the lid of the steamer so water does not drip onto the dessert. - Steam the next 4 colour layers for 5 minutes each as shown in step 8.
Tip: Continue to stir colours before pouring into steamer so it remains consistent. - Steam layer 6 for 6 minutes, layer 7 for 7 minutes and layer 8 for 8 minutes.
- Layer 9 the final layer to be steamed for 10 minutes.
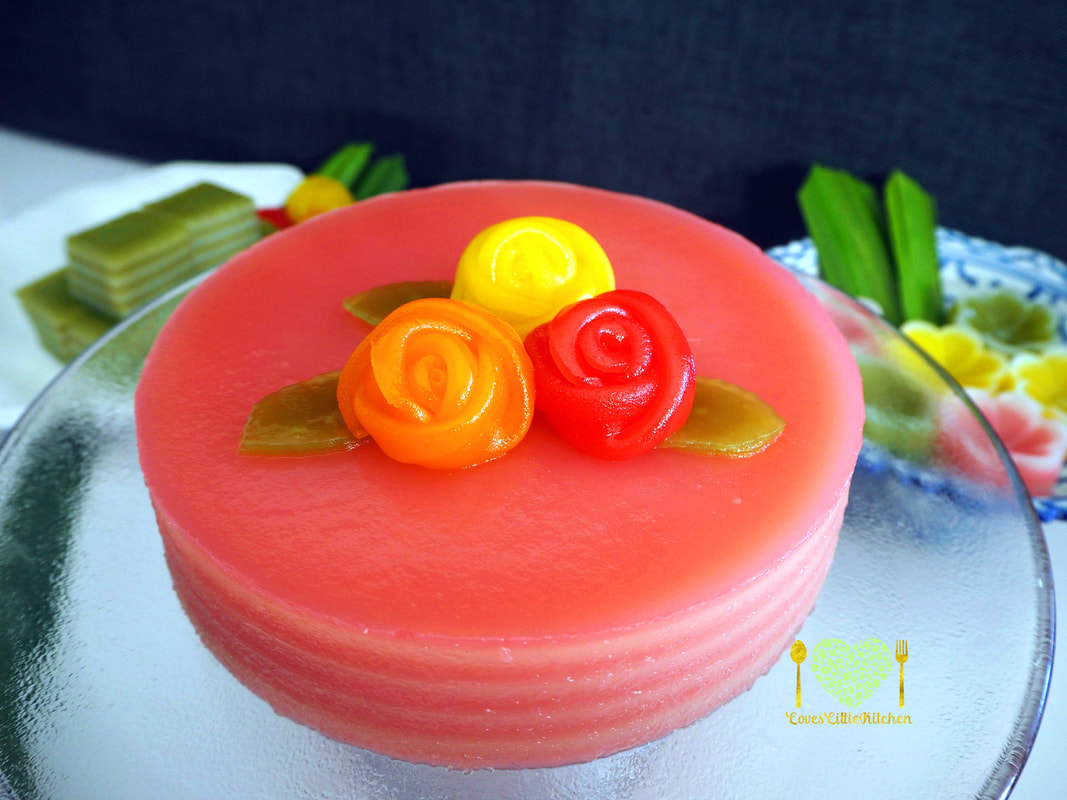
- Set aside to cool completely before cutting and serving. Khanom chan is best on the day it’s made, but will last a few days in the fridge (although the texture may become slightly less chewy).
Leave a Reply